Refit 2

Drei größere Projekte
Three major projects
Wegen des schlechten Wetters müssen wir den Plan aufgeben, nach dem Apartment in unser geräumiges Zelt zu übersiedeln. Stattdessen siedeln wir auf das Boot um. Das ist zwar mehr Baustelle als Wohnraum, aber wir schaffen es, zwei Schlaf- und zwei Essplätze zu organisieren.
Due to the bad weather, we have to abandon our plan to move into our spacious tent after the apartment. Instead, we move onto the boat. It’s more of a construction site than living space, but we manage to organize two sleeping areas and two dining areas.

Auch die Arbeit am Kühlschrank war nicht immer einfach…
Working on the fridge wasn’t always easy either…
Badeplattformen
Schon lange bin ich am Überlegen, wie wir das Ruder vor einem Kontakt mit Stegen und Molen schützen könnten. Besonders in Griechenland legt man häufig mit Buganker und Heckleinen an hohen betonierten Molenmauern an. Ein Kontakt würde hier kaum ohne Schaden für das Ruder ablaufen.
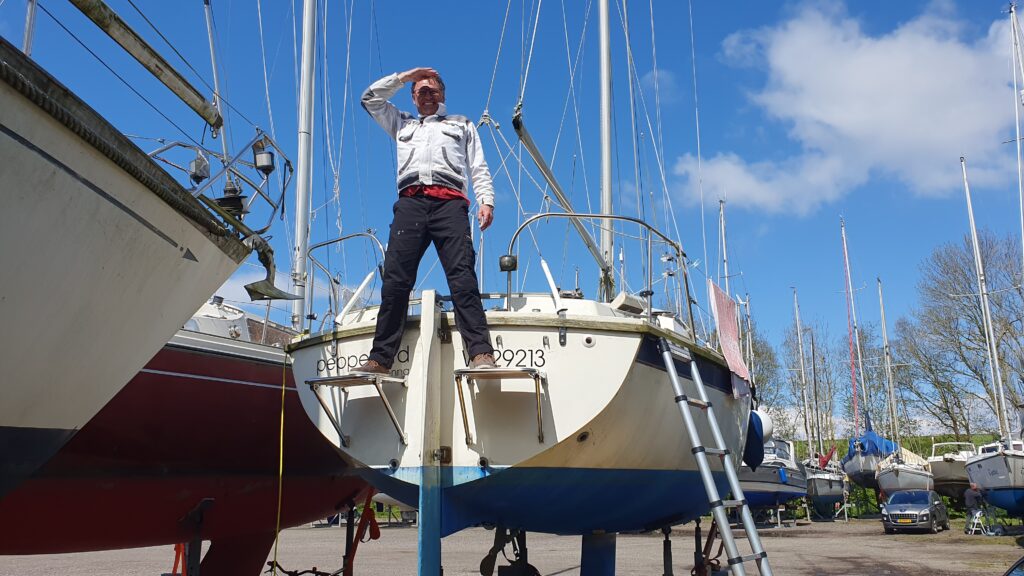
In einem Online-Shop fand ich dann eine potenzielle Lösung: Badeplattformen. Diese stehen etwa 5 cm weiter vom Heckspiegel ab als das Ruderblatt. Je links und rechts eine montiert würden auch das Aussteigen über das Heck deutlich erleichtern. Weil die ursprüngliche Badeleiter dann aber nicht mehr einsetzbar wäre, musste eine neue organisiert werden. Diese ist jetzt unterhalb der Steuerbordplattform montiert und funktioniert im „Trockentraining“ hervorragend.
Die Montage hat zwar einige Tüfteleien erfordert, vor allem, weil da hinten nichts gerade oder rechtwinkelig ist. Die Schrauben, die mit der Badeleiter geliefert wurden, erschienen uns als zu schwach, um auch mein Gewicht tragen zu können, also haben wir neue Hülsenschrauben besorgen müssen, was einige Zeit gedauert hat. Am Ende hat alles gut geklappt, die Plattformen schauen gerade und symmetrisch aus, mit Gegenplatten und viel Sika-Flex sind sie auch stabil und dicht montiert.
Bathing Platforms
I’ve been thinking for a long time about how we could protect the rudder from contact with jetties and piers. In Greece in particular, „Aegean mooring“ means using bow anchors and stern lines on high concrete jetty walls. Any contact here would hardly be without damage to the rudder.
I then found a potential solution in an online store: bathing platforms. These protrude about 5 cm further from the transom than the rudder blade. Mounting one on the left and one on the right would also make it much easier to get out via the stern. However, because the original bathing ladder would then no longer be usable, a new one had to be organized. This is now mounted below the starboard platform and works excellently in “dry training”.
The installation did require some fiddling, mainly because nothing is straight or at right angles at the back. The screws that came with the swim ladder seemed too weak to support my weight, so we had to get new sleeve screws, which took some time. In the end everything worked out well, the platforms look straight and symmetrical, with counter plates and lots of Sika-Flex they are also stable and tightly mounted.
Die erste Plattform ist fertig
The first platform is finished
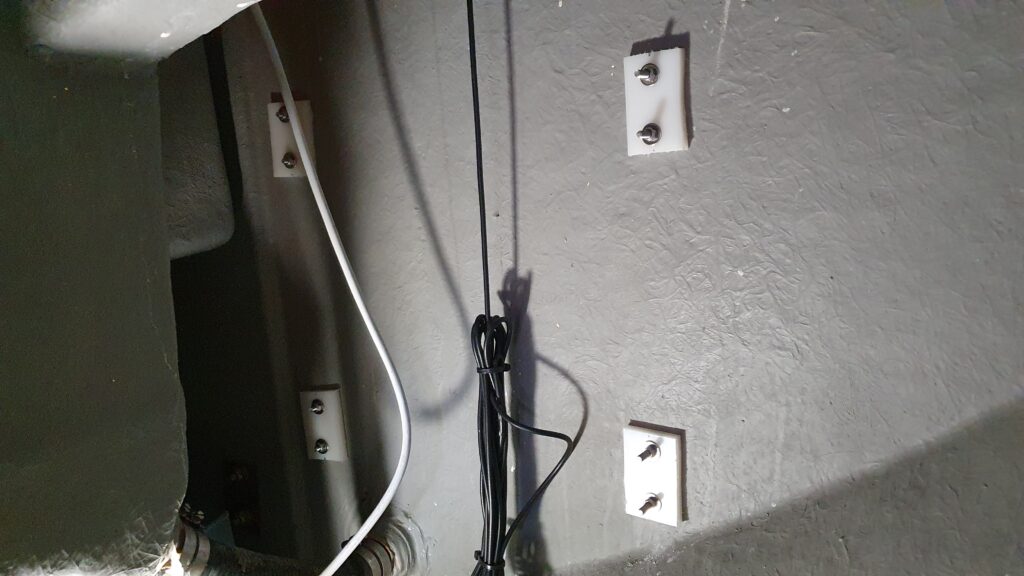
Vier Gegenplatten für die acht Schrauben – eine stabile Konstruktion
Four counter-plates for the eight bolts – a stable construction
Kühlschrank
Eigentlich wollte ich dieses Mal nur den Kiel-Kühler einbauen, weil dieser einen Rumpfdurchbruch erforderlich macht und der kann nur hergestellt werden, wenn das Boot an Land steht. Aber Matthias ist die Sache mit so viel Elan angegangen, dass wir beschlossen haben, das ganze Kühlaggregat gleich fertig zu machen. Das war die bisher komplexeste und schwierigste Aufgabe, die wir zu meistern hatten. Aber wir haben jeden Schritt gut durchdacht und gut vorbereitet, sodass uns unvorhergesehene Widerstände nicht überfordert haben.
Zuerst haben wir den besten Platz für den Kiel-Kühler gesucht und hinter den Schubladen der Küchenzeile gefunden. Unter und hinter den Laden ist ausreichend Platz, nicht nur für den Kühler, sondern auch für den Kompressor und die Kupferleitungen. Als Nächstes wurde der beste Platz für die Verdampfer-Platte ausgewählt. Wenn die Platte einmal geknickt wird (ein heikles Manöver!) passt sie am besten in die hintere rechte Ecke der alten Eisbox. Dort führt ein Loch in der Box dann auch gleich in den Raum, in dem Kühler und Kompressor montiert sind.
Da Kupfer umso steifer wird, je öfter es gebogen wird, mussten wir die Montage so choreografieren, dass wir mit möglichst wenigen Biegungen auskommen würden. Das war in dem engen Boot und mit den langen Leitungen nicht einfach. Nachdem wir das durchgeplant hatten, wurden die einzelnen Komponenten eingebaut, was bei den wirklich engen Platzverhältnissen durchaus artistische Verrenkungen erfordert hat – von beiden von uns!
Fridge
Actually, I only wanted to install the keel cooler this time because it requires a hull opening and this can only be made when the boat is on land. But Matthias tackled the job with so much vigour that we decided to finish the whole cooling unit straight away. This was the most complex and difficult task we had to master so far. But we thought through every step carefully and prepared well so that unforeseen obstacles didn’t overwhelm us.
Firstly, we looked for the best place for the keel cooler and found it behind the drawers of the kitchen unit. There is enough space under and behind the drawers, not only for the cooler, but also for the compressor and the copper pipes. Next, the best place for the evaporator plate was selected. Once the plate is bent (a tricky manoeuvre!) it fits best in the rear right-hand corner of the old ice box. A hole in the box then leads directly into the space where the cooler and compressor are mounted.
As copper becomes stiffer the more it is bent, we had to choreograph the assembly so that we could manage with as few bends as possible. This was not easy in the narrow boat and with the long hoses. Once we had planned this out, the individual components were installed, which required some artistic contortions in the really tight space – from both of us!
Platz für die Leitungen – Space for the tubes
Verdampferplatte – evaporator plate
Arbeiten in engen Räumen
Working in confined spaces
Der Kompressor – und ein wohlverdientes selbstgekühltes Bier
The compressor – and a well deserved self-cooled beer
Schutzblech
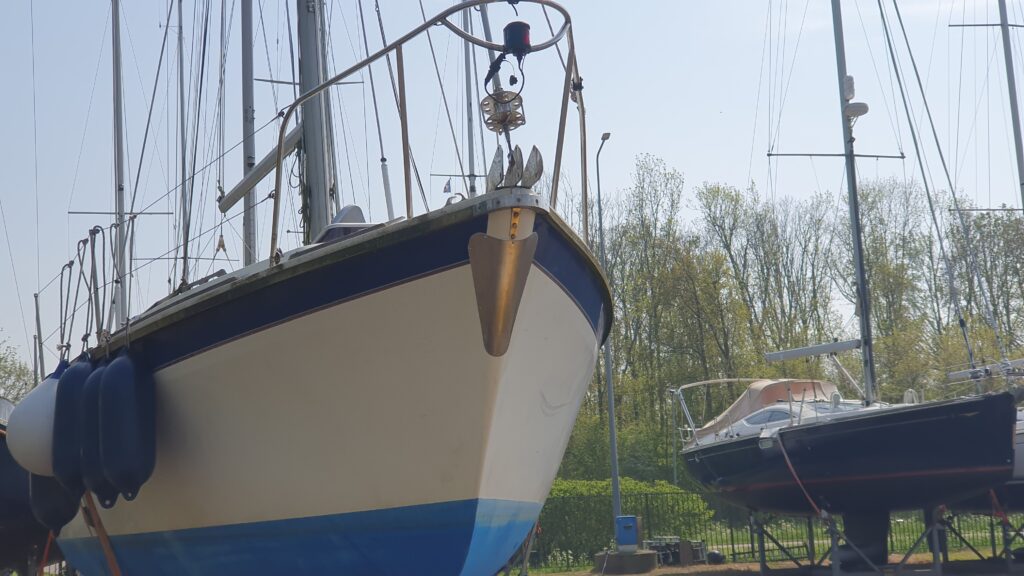
Letzten Herbst haben wir viel Zeit darauf verwendet, für das Ankergeschirr eine geeignete Erweiterung/Verlängerung zu entwerfen. Dann sah ich auf der Homepage der Westerly Owner’s Association ein Bild einer Tempest mit einem Stahlblech als Schutz des Buges vor einer Beschädigung durch den Anker. Das schien mir der geringere Aufwand zu sein. Also habe ich bei dem Schlosser unseres Vertrauens (er hat auch den Tank gemacht) so ein Platte bestellt.
Nachdem ich sie zuerst in Attnang vergessen hatte und Hanna uns das Ding per Post nachgeschickt hatte, stellte sich die Frage: Wie und womit biegen wir ein 1,5 mm starken Edelstahlblech? Eine Idee nach der anderen wurde geboren — und verworfen. Am Ende haben wir das Blech auf der Werkbank mit Zwingen niedergehalten und mit einer weiteren Zwinge in Form gebogen. Auch das war nicht leicht, vor allem weil das Ganze ja am Ende zur Form des Buges passen musste. Nach einem guten Tag harter Arbeit konnten wir den Bugschutz schließlich mit Sika-Flex ankleben und mit zwei Schrauben fixieren.
Es schaut eigentlich ganz gut aus.
Beim Test mit dem Anker stellte sich allerdings heraus, dass die Spitze noch immer gegen das GFK des Bugs stoßen könnte. Das war etwas enttäuschend, aber aufgrund unserer Erfahrung vom letzten Jahr konnten wir recht rasch eine entsprechende Ergänzung designen. Diese ist nun beim Schlosser in Auftrag gegeben.
Protecting Plate
Last autumn, we spent a lot of time designing a suitable attachment/extension for the anchor gear. Then I saw a picture on the Westerly Owner’s Association website of a Tempest with a steel plate to protect the bow from damage by the anchor. That seemed to me to be the less expensive option. So I ordered such a plate from our trusted locksmith (he also made the diesel tank).
After I had forgotten it in Attnang when I went to pick up Matthias, and Hanna had to send it to us by post, the question arose:
How and with which tools do we bend a 1.5 mm thick stainless steel plate? One idea after another was born — and discarded. In the end, we held the sheet down on the workbench with clamps and bent it into shape with another clamp. That wasn’t easy either, especially because the whole thing had to fit the shape of the bow in the end. After a good day’s hard work, we were finally able to glue the bow guard in place with Sika-Flex and fix it with two screws.
It actually looks quite good.
However, when testing with chain and anchor, it turned out that the tip could still hit the GRP of the bow. This was somewhat disappointing, but based on our experience from last year, we were able to design a suitable addition quite quickly. This has now been ordered from the locksmith.
Das Biegen war ein hartes Stück Arbeit – The bending was a hard piece of work
Geklebt und mit Gurten fixiert – glued and fixed with straps.
Schaut professionell aus – looks quite professional
Ein Modell für die Erweiterung – A model for the extension


